Is your car over 5 years old? Theres a good chance it is,
considering that the average age of a car on the road in the US is 11.4 years
old. After thousands of miles driven and a multitude of services having been
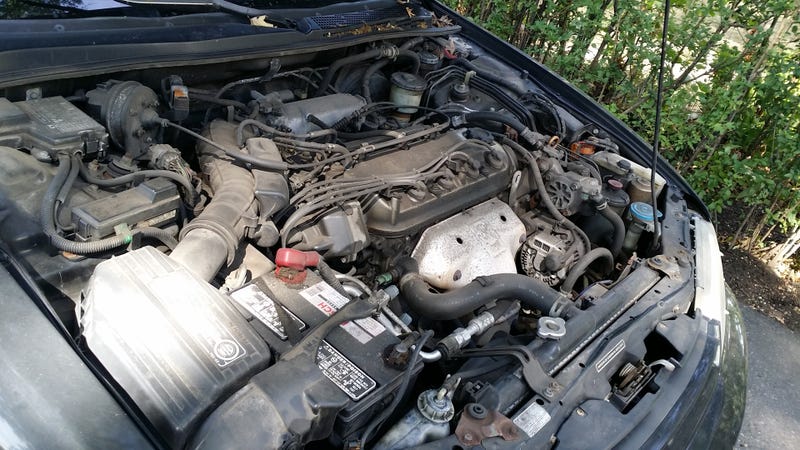
done, your engine bay is likely ridden with grime and dirt. Ive broken down on
the side of the road a few times myself, and the last thing I want to do when
Im in dire straits is get covered in car grease.
A clean engine bay will not only prevent you from getting
greasy in a rut, but will also help your engine run at a cooler temperature and
help keep everything else running smoothly. Cleaning your engine bay can be a
quick and easy job, or you can go further and finely detail the bay almost as
easily with just a little more time- for even greater satisfaction.
Im going to expound on the proper procedures in depth- you
can decide how far you want to go with it based on your own
standards/preference.
These are the supplies you will need; a vacuum, a leaf
blower/air compressor, microfiber cloths, soapy water, degreaser, general
cleaning wipes, and a versatile scrubbing brush.
Optional supplies that can take it to a higher level are;
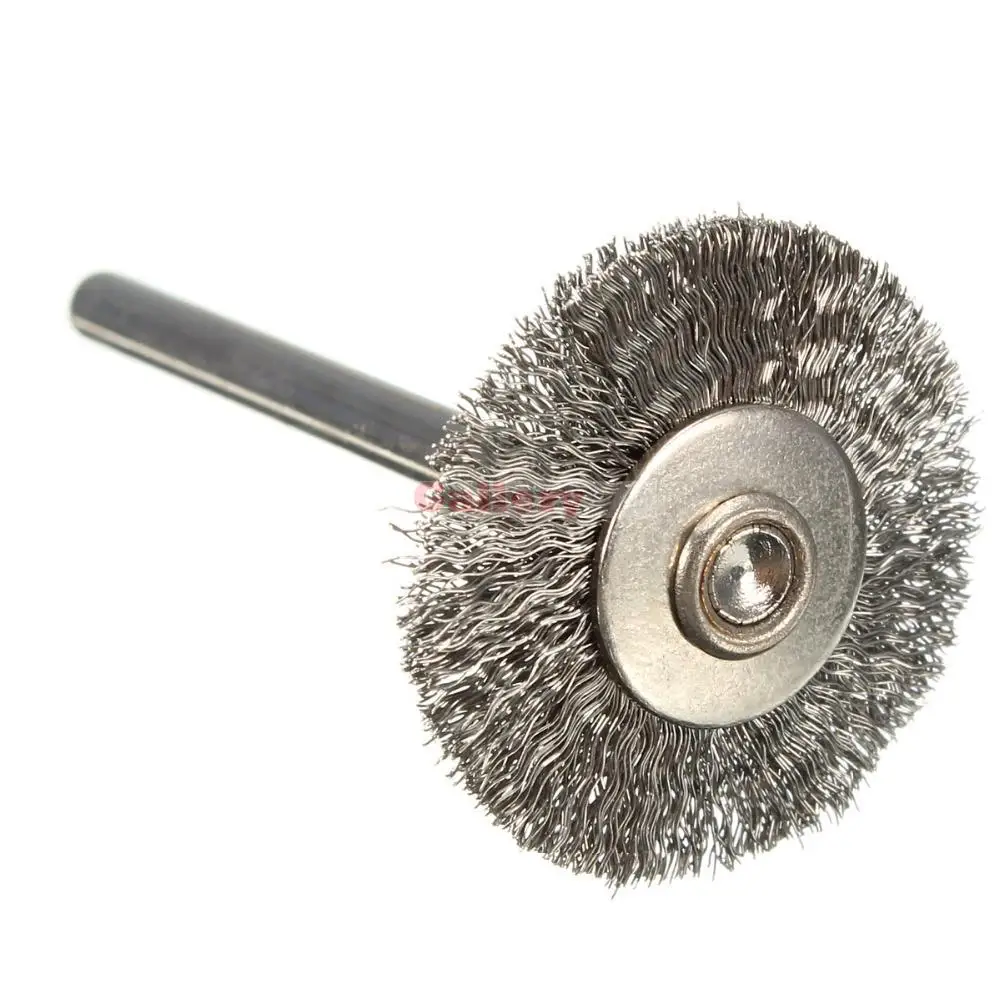
brushes assorted by size, pipe cleaners, a metal wire brush/rotary tool, and a
toothbrush.
Questions you may have about cleaning your engine could be;
How do I make sure I don’t damage the electronics? Does
anything need to be covered or taken out? What products are safe to use? Does
the water temperature matter?
These are all common concerns, and I will be sure to cover
them throughout the description.
To begin, you’ll need to get prepared. Cover your eyes and
hands and collect the necessary supplies. Disconnect and remove the battery.
Tightly shut all of the reservoir caps.
Next, you’re going to do a dry clean. There’s likely going
to be a large amount of loose dirt and debris that can be easily brushed loose
and vacuumed right off.
After vacuuming, take your air blowing device- an air
compressor works best but a leaf blower or vacuum on the blow setting could
also do the job- and blow away the excess debris you’ve brushed off. If there
is any dull aluminum or metal, it can be brought back to life by scrubbing it
with a metal wire brush or a rotary tool with a wire wheel. Youll want to blow
off the loose debris after this step as well.
Next comes the wet. Any water temperature will be okay if
your engine is cool, but warm water will make the washing easier. If your
engine is hot, wait until you can rest your hand on the engine block until you
put any water on it. If it’s warm, you may proceed- but only with warm water,
as cold water on a hot engine could result in cracked or warped parts.
Be sure to cover the engine prior to spraying anything, as
the electrical parts within such as the alternator, distributor, and spark plug
wells should all be exposed to minimal water.
Next, take the plastic off of the engine. Removing the
intake can make this part much easier, so do this if youre confident in properly
removing and replacing it. This should be evident, but removing any parts from
your engine bay should always be done with care.
Now, start by cleaning the top layer of grease off of the
tubes and such around your engine with cleaning wipes. Lightly mist the area
with soapy water and agitate with a brush. A small brush or pipe cleaner would
be the best size for this area. Absorb the soapy water and dirt with a
microfiber towel, being sure to soak up any excess moisture. A vacuum with
water capabilities would work wonders to get any leftover water out of hard to
reach places.
To finish, buff the entire surface with a cloth until a
delightfully alluring gleam is achieved, and thats a wrap!
Your engine should now be looking just as fresh and new as
it did when it was a wee babe!


